Welcome back to our DevOps blog series!
In my previous blog post, we delved into the Jenkins Declarative Pipeline, exploring its fundamental concepts and implementation strategies. Today, we're taking it a step further by integrating Docker into our Jenkins Declarative Pipeline, enhancing the efficiency and flexibility of our CI/CD process.
In case you missed my previous blog on Jenkins Declarative Pipeline, I recommend giving it a quick read here: Jenkins Declarative Pipeline
Understanding Docker Build and Run
Before we jump into combining Docker with Jenkins Declarative Pipelines, let's take a moment to brush up on our Docker knowledge.
Docker empowers us to package our applications into containers, guaranteeing uniformity no matter where they run.
docker build: In the pipeline stage, we can utilize the sh 'docker build . -t <tag>' command to execute the Docker build process. Just ensure that Docker is installed on your system and you have the necessary permissions to run the command.
docker run: We can initiate the container using the sh 'docker run -d <image>' command within our pipeline stage block.
What will the stages appear like?
stages {
        stage('Build') {
            steps {
                sh 'docker build -t trainwithshubham/django-app:latest'
            }
        }
    }
What is a Pipeline?
A Jenkins Pipeline is defined in a text file called a Jenkinsfile, which can be added to a project's source control repository(SCM). This file contains instructions for the Jenkins Pipeline and is usually stored alongside the project code it builds or deploys.
This forms the basis of "Pipeline-as-code," where the continuous delivery pipeline is treated as an integral part of the application. It can be versioned and reviewed just like any other code component.
Task 01
Create a Jenkins Declarative Pipeline with Docker integration.
Utilize the specified syntax by employing
shwithin thestageblock.
Start by setting up an EC2 instance and installing Jenkins on it. Access Jenkins through the public IP of the EC2 instance and port 8080.
After successfully installing and accessing Jenkins via your browser, navigate to the Jenkins Dashboard and click on "New Item."
Refer to my previous blog on "Getting Started with Jenkins"

Here, you should enter the Project Name and choose the project type as "pipeline." This selection is necessary as we will be creating the Jenkinsfile in the subsequent steps.

Select "OK" to proceed. You will then be directed to the "Project Configuration" section.

Navigate to the "Pipeline" section, where you should choose "Pipeline script" as the definition.

Next, we'll write a fundamental Pipeline Script for a React-Django application.


pipeline {
    agent any
    stages {
        stage('Code') {
            steps {
                git url: 'https://github.com/gawandekgaurav/django-todo-cicd.git' , branch: 'main'
            }
        }
        stage('Build') {
            steps {
                sh 'docker build . -t django_app_img:latest'
            }
        }
        stage('Test') {
            steps {
                echo "Testing"
            }
        }
        stage('Deploy') {
            steps {
                sh "docker run -d --name django_react_app_jenkins -p 8001:8001 django_app_img:latest"
            }
        }
    }
}
Press the Save button to store the Pipeline configuration.
Next, we can initiate the build process by clicking on the "Build Now" tab manually.

After the build is finished, you can review the build output by clicking on the "Console Output" tab available.

Here, we can observe the successful execution of the pipeline.
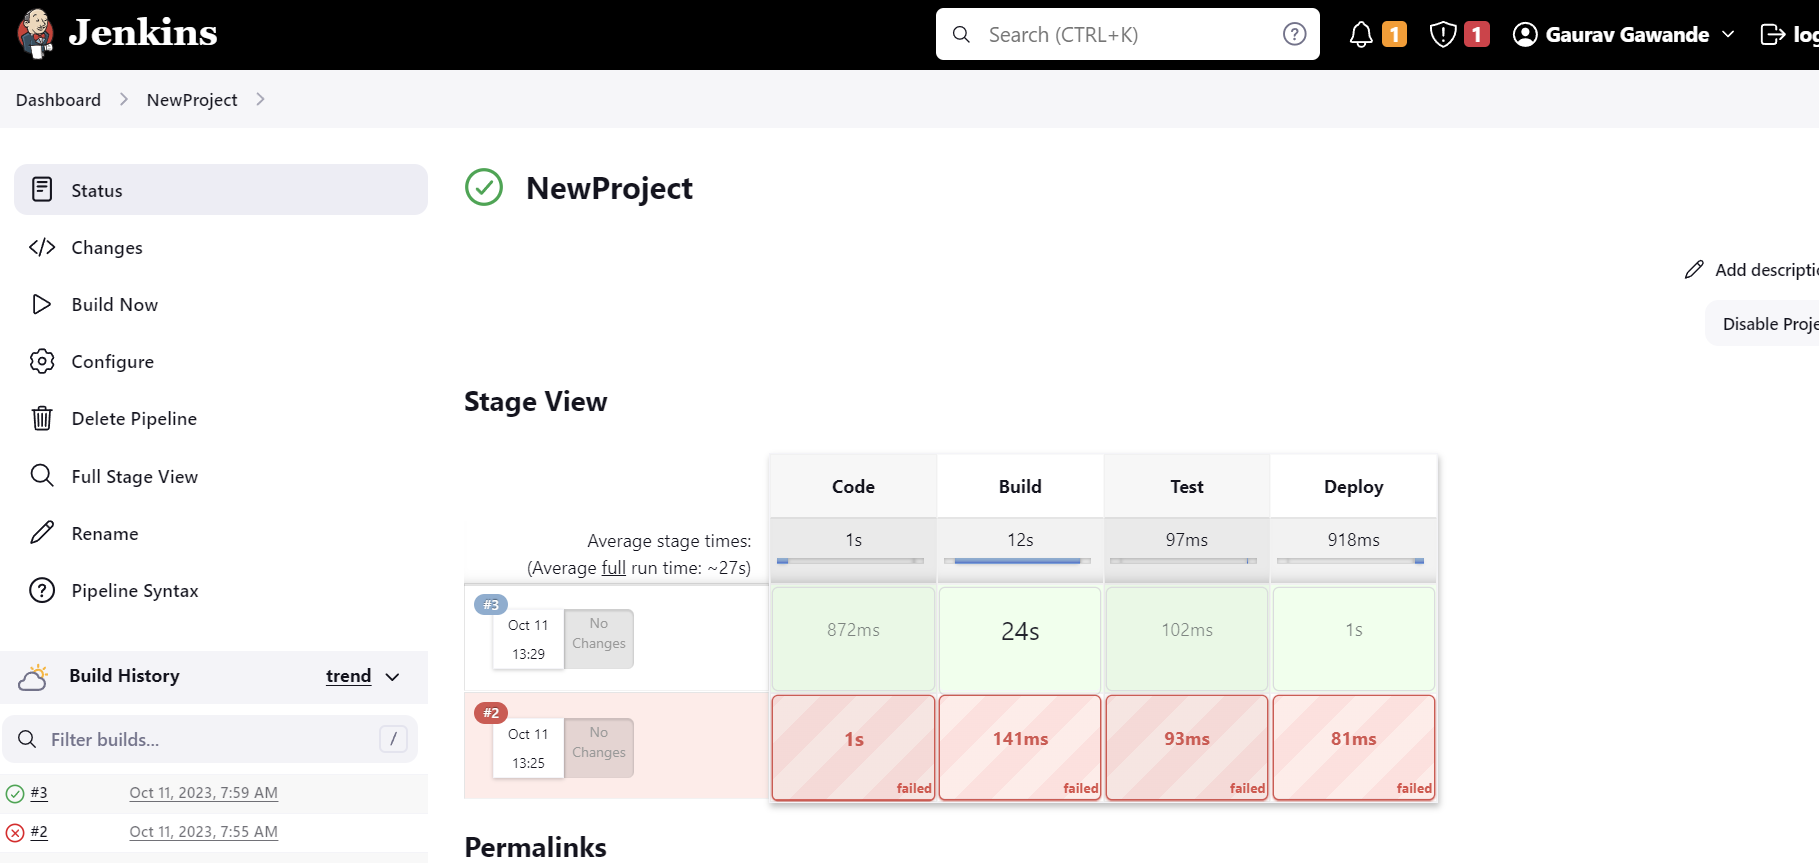
Now, we can view the multi-stage layout by clicking on "Full Stage View" on the project's main page.

If we try to run the job twice, errors may occur because the Docker container has already been created. To resolve this, we need to follow task 2.
Run the pipeline once more by clicking the "Build Now" button.

It will throw the error.

Task 02
Create a Jenkins declarative pipeline integrated with Docker using the Docker Groovy syntax within the stage block.
By following this documentation, you can avoid encountering errors during the process.
Apply this declarative pipeline approach to complete your previous projects seamlessly.

Select "Save" and then click "Build Now." Following this, the process should run smoothly as we have dockerized the application and tested its accessibility.

Conclusion
Integrating Docker with Jenkins Declarative Pipeline provides a robust solution for automating our CI/CD workflows. By containerizing our applications, we guarantee consistency and portability, enabling our software to operate effortlessly across diverse environments. 🚀
I trust this blog post has offered valuable insights into merging Jenkins Declarative Pipeline with Docker. Should you have any questions or suggestions, don't hesitate to reach out. Let's keep the conversation going and learn together! 🌟
Connect with us on LinkedIn to stay updated on the latest DevOps trends and become a part of our vibrant community of passionate professionals. 🤝

