Welcome back to our DevOps journey!
Today we are beginning with an exciting journey into the world of Amazon Web Services (AWS), a place where cloud computing transforms the way we build, deploy, and scale applications.
Feel free to explore more DevOps topics and discussions on my Hashnode and my LinkedIn.
In the fast-paced world of technology, cloud computing has become a cornerstone for businesses seeking scalable, reliable, and cost-effective solutions. Amazon Web Services (AWS) stands out as a leading cloud service provider, offering a comprehensive suite of computing power, storage, and other functionalities.
This blog will guide you through the basics of AWS, focusing on Identity and Access Management (IAM) and its practical application.
What is AWS?
Amazon Web Services (AWS) is a cloud computing platform provided by Amazon. It delivers a wide range of services, including computing power, storage options, networking, databases, machine learning, and many more.
Some of the key points to note about AWS:
Global Reach:
AWS operates in multiple regions globally.
Users can deploy applications closer to end-users, reducing latency.
Improved performance is achieved through strategic geographical placement.
Scalability:
AWS provides on-demand resources.
Infrastructure scaling is flexible, allowing adjustments based on application requirements.
Scalability supports both upward and downward adjustments as needed.
Pay-as-You-Go Pricing:
AWS follows a pay-as-you-go pricing model.
Users only pay for the resources consumed.
This approach eliminates the need for large upfront investments, promoting cost-effectiveness.
Security:
AWS places a high priority on security.
Tools and features are provided to build a secure environment.
Various security measures are in place to safeguard applications and data.
AWS is widely used for hosting websites, running applications, storing data, and implementing various other IT solutions.
Explore the most widely utilized AWS services by checking out the top 25 listed here.
What is IAM?
Identity and Access Management (IAM) is a fundamental service within AWS that enables you to manage access to your AWS resources securely. IAM helps you control who can access your resources and what actions they can perform.
Key components of IAM include:
Users:
Individuals or services interacting with AWS are represented as users.
Each user possesses a distinctive set of security credentials.
Groups:
Groups are assemblies of users.
Policies can be attached to groups, streamlining permission management instead of assigning policies to individual users.
Roles:
Roles, akin to users, are designed for AWS services or applications on EC2 instances.
They specify a set of permissions for executing AWS service requests.
Policies:
Policies are JSON documents defining permissions.
Users, groups, or roles can have policies attached to regulate their access and actions within AWS.
Discover additional insights into the AWS IAM journey by exploring further details here.
Task 01
Create an IAM user with a username of your wish and grant EC2 Access. Launch your Linux instance through the IAM user that you created now and install Jenkins and docker on your machine via single Shell Script.
Go to the WAS login page and select Root user.

Login as root user.
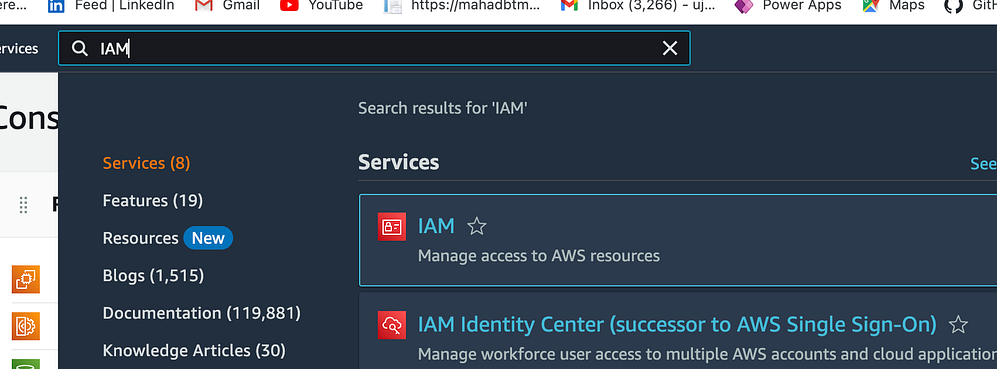
Access the home screen and enter "IAM" into the search box.

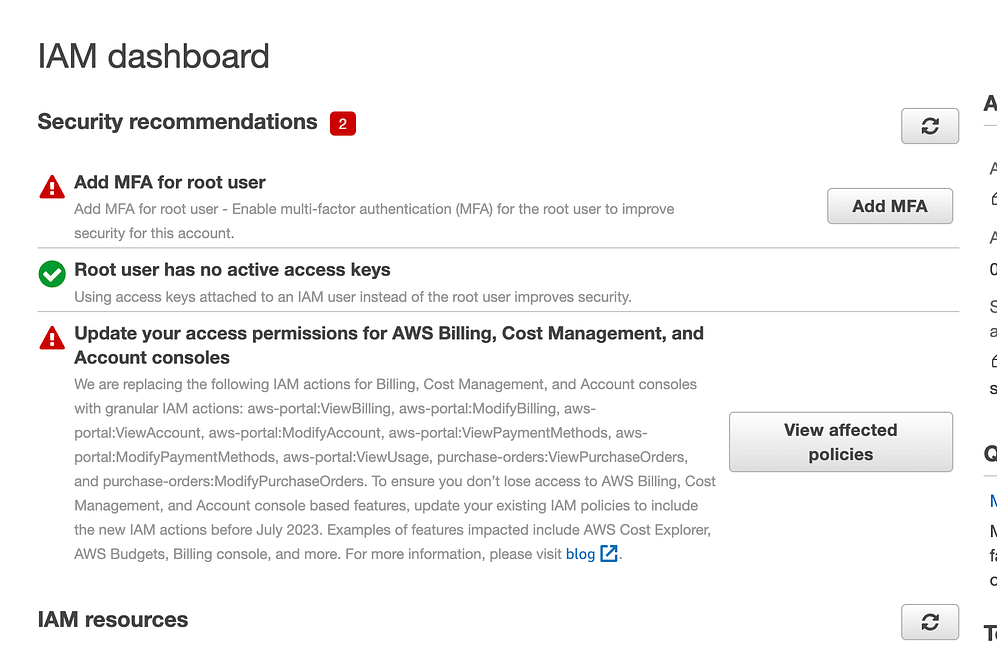
The IAM Dashboard will appear.

Select "Users" from the left-hand side of the dashboard and proceed to click on "Add users."

Enter your preferred username, check the corresponding checkbox, and then proceed by clicking on "Next."

Add the user to the necessary group.

Choose the permissions policies that meet your requirements.
Select the Create user box and the new user will be created.

Select the recently generated user.
Sign in using the newly created IAM user.

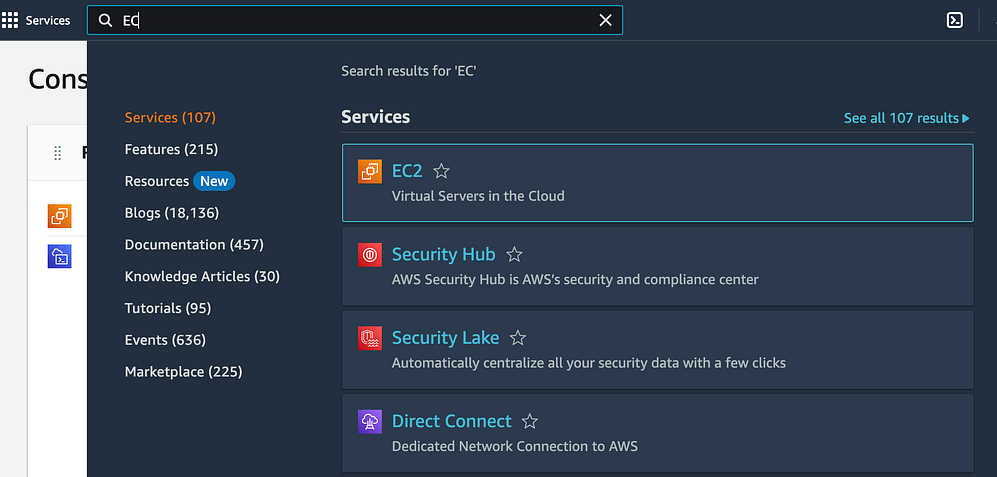
Enter "EC2" in the search box and proceed to click on "Launch instance."

Follow the steps below to launch the EC2 instance.
Select "Launch Instance."

Assign a name to your instance and choose Ubuntu as the operating system.

Choose instance type

Generate a new key pair or choose an existing one.
In the user-data section, input the commands for installing Docker, Java, and Jenkins. You can find all the installation commands in my previous blog.
Select "Launch Instance".
Next, navigate to the EC2 page, choose the instance recently created, and then click on "Connect."


Verify the status of Jenkins and Docker installation.

Access the recently created instance and select the security group.
Select "Edit inbound rules."

Choose "Add rule," specify the type as "Custom TCP," set the port range to "8080," and configure the source range as "Anywhere-IPv4." Finally, click on "Save Rules."

Return to the EC2 instance, click on "Details," copy the "Public IPv4 address," and paste it, appending ":8080" at the end.
Task 02
In this task you need to prepare a devops team of avengers. Create 3 IAM users of avengers and assign them in devops groups with IAM policy.
Create 3 IAM users named after Avengers characters.

Create an "Avengers DevOps" group by navigating to the "User Groups" link in the left-hand menu and selecting the "Create New Group" button.

Specify a name for the group, and include the 3 IAM users by selecting them for membership in the group.

In the "Attach Policy" step, locate and choose the "AmazonEC2FullAccess," "AmazonS3FullAccess," and "AmazonRDSFullAccess" policies.
Select the "Create Group" button, and you'll find that the "devops-avengers" group has been successfully created with three users.

We can include additional users, simply click on "Add users."

Conclusion
This blog has introduced us to the basics of AWS and the essential concept of Identity and Access Management (IAM). As you continue your journey into the cloud, mastering IAM is crucial for maintaining a secure and well-managed AWS environment.
If you found this introduction helpful and wish to learn more about AWS and DevOps practices, feel free to connect with me on LinkedIn.
Let's build a network of like-minded professionals exploring the vast world of cloud computing together!

