In my last blog post, we took a deep dive into the complexities of Jenkins Freestyle Projects, unraveling the secrets of continuous integration and continuous deployment (CI/CD). Expanding on that knowledge base, this blog will zoom in on a particular aspect: how to set up a Jenkins CI/CD pipeline.
The tools we're going to utilize in this project include:
AWS-EC2
GitHub
Docker
Jenkins
What is a CI/CD pipeline?
A CI/CD (Continuous Integration/Continuous Deployment) pipeline is like a well-organized assembly line for software development. It automates the process of building, testing, and deploying code changes. Think of it as a smooth connection between developers and operations teams.
It ensures that new software updates are quickly and smoothly integrated into the existing code and then deployed to the live or test environments. By doing all this automatically, CI/CD pipelines make teamwork easier, minimize mistakes, and speed up the delivery of high-quality software.
A standard CI/CD pipeline involves various stages:
Code Integration: Developers collaborate by merging their code changes into a shared repository.
Build: The CI system compiles the code and performs necessary tests to ensure its integrity.
Testing: Rigorous testing methods such as unit, integration, and end-to-end tests are employed to validate the code.
Deployment: The code is deployed either to the production environment or a staging area for final evaluation.
Monitoring: Continuous monitoring of the deployed application takes place to guarantee optimal performance and stability.
Now, let's begin with our end-to-end project on CI/CD Pipeline for our Node JS Application.
Step 1: Create an EC2 instance and ssh into it
We will create an EC2 instance and connect our terminal with the help of ssh-key.
Step 2: Install Jenkins on the server
Please refer to my previous blog for Jenkins installation here: https://gawandekgaurav.hashnode.dev/jenkins-freestyle-project
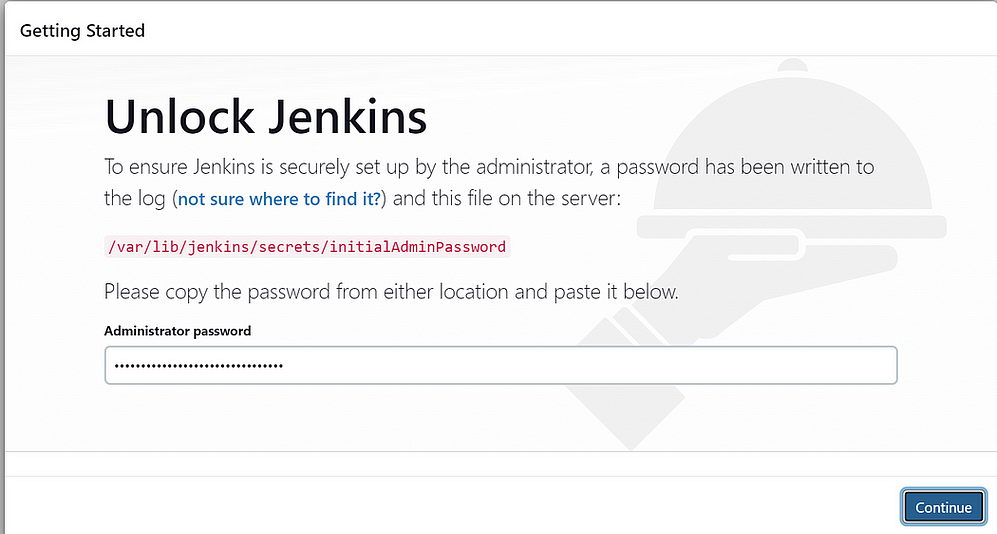
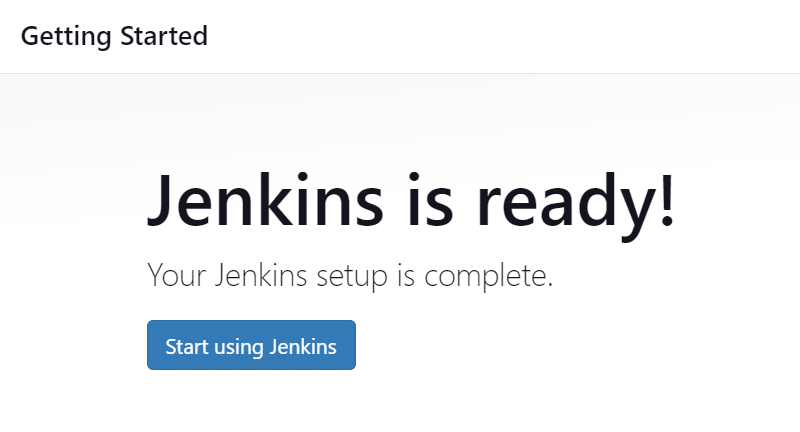
With Jenkins now accessible, proceed to unlock it by entering the password located at the specified path.


Before starting with the Jenkins configurations, it's essential to add the public key. This step establishes a connection between Jenkins and GitHub, enabling seamless access to the source code stored in the GitHub repository.
Navigate to your EC2 instance and enter the following command:
ssh-keygen
Two keys will be generated. Navigate to the .ssh folder and inspect these keys: you'll find both the private and public keys there.

To establish the connection, it's necessary to add the public key to GitHub. This step enables the creation of a bridge between the systems.
Navigate to Github -> Settings -> SSH and GPG keys -> Add new key. On your EC2 instance, execute the command cat id_rsa_pub, copy the key, provide a name to the key, and paste the copied key into the respective field.
Create an item in Jenkins and add the repository's URL.


Next, we will provide the necessary credentials, allowing Jenkins to access the code from GitHub.
In Source Core Management
Go to Add Credentials


Select "Add" and then save the changes.
Everything is set up, and we're ready to initiate the job. Click on "Build Now" to start the process.
The Build will be started now.

Access the instance and verify whether the repository has been cloned successfully.

Check the readme file and install the required dependencies as outlined.

Once we've executed these commands, test accessibility by attempting to access the URL. If it's inaccessible, it's likely due to the lack of access to port 8000.

Access the instance, navigate to Security settings, edit the inbound rules, and then add a new rule.

Save Rules.
Get the public IP address of the instance along with port 8000 to access the application. http://54.236.10.168:8080/

We'll containerize the application using Docker, making it accessible from anywhere for anyone.
Access the instance and install the docker
sudo install docker.io (#apt-get install docker)(apt install docker.io)
Create your Dockerfile
FROM node:12.2.0-alpine
WORKDIR app
COPY . .
RUN npm install
EXPOSE 8000
CMD ["node","app.js"]
Next, build the image using this Dockerfile.
docker build . -t todoapp

The image (todo: latest) has been created successfully.
Next, we'll create a container using this image.
docker run -d --name todoappnode -p 8000:8000 todo:latest
Following these steps, a container will be created.

Get the public IP address of the instance along with port 8000 to access the application. http://54.236.10.168:8080/

Next, let's automate this process by incorporating the commands into the shell script.

The build has been completed successfully. We can now access it through our web browser.

All the tasks that were previously done manually will now be executed automatically through the automation process we've implemented.
Next, we will set up a webhook, ensuring that any updates or deletions in the repository will automatically trigger the job, initiating the subsequent processes.
We will have to kill the existing container first.
docker kill <Container_ID>
Access the GitHub repository, navigate to the repository's Settings, select Webhooks, and proceed to create a new webhook. Provide the URL of your Jenkins host in the following format: IP:8080/github-webhook.


Upon successful connection, it should display a green checkmark indicating the connection is established.

The webhook has been successfully added.
Navigate to Jenkins, click on "configure," and enable the option "GitHub hook trigger for GITScm polling."

From now on, simply make an update in the GitHub repository, and your job will be triggered automatically.


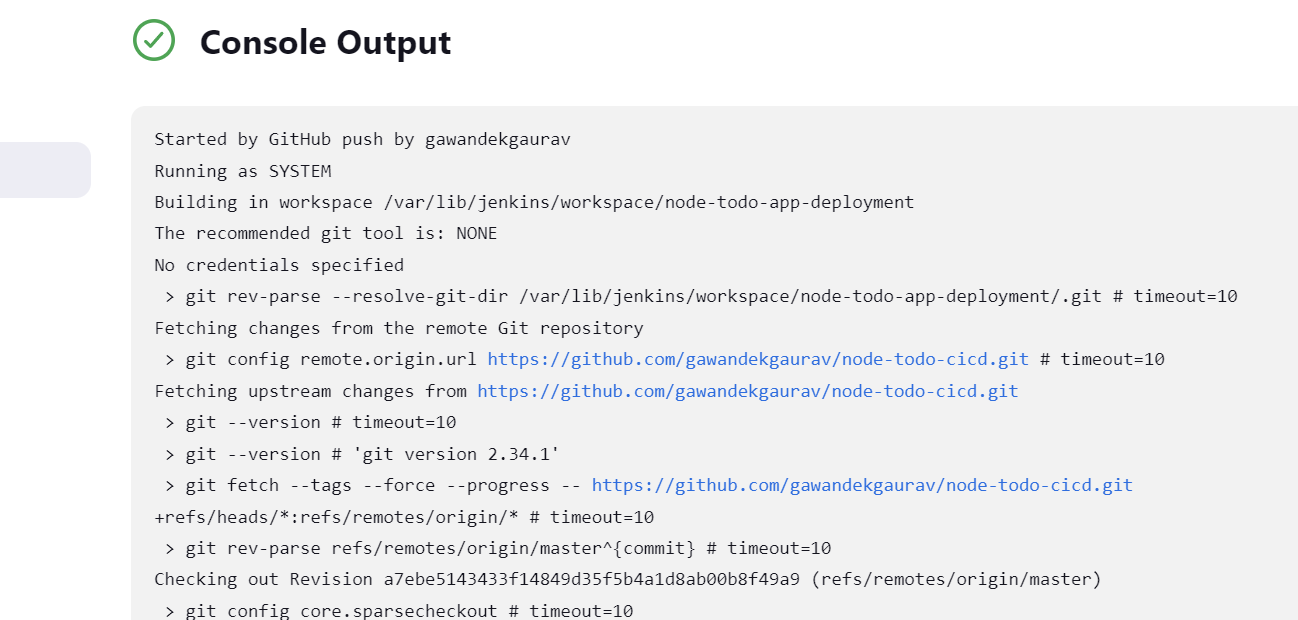
The build has been completed successfully.
Conclusion
In conclusion, mastering Jenkins CI/CD for Node.js empowers engineers to streamline their development process, improve code quality, and ensure rapid, reliable deployments. By automating repetitive tasks and enabling continuous feedback loops, Jenkins elevates the overall efficiency of the software development lifecycle.
I trust this blog post has illuminated the importance of Jenkins Freestyle Projects in the CI/CD landscape! 🌟
Your feedback means the world to me! 🌍 It guides me in enhancing my content and providing you with even more relevant information.
I invite you to connect with me on LinkedIn! 🤝 Let's stay linked and continue our journey of learning together! 🚀

