Welcome back, DevOps enthusiasts! 🌟
In my previous blog on "Getting Started with AWS Basics," we've already started our way to mastering cloud computing. In that blog, we explored the fundamental concepts of AWS, setting the stage for today's deep dive into AWS and Identity and Access Management (IAM).
If you haven't had a chance to read it yet, I highly recommend you check it out.
IAM is the cornerstone of security in AWS, enabling you to manage access to your AWS services securely. In this blog, we'll unravel the intricacies of IAM, focusing on its significance in securing user data and optimizing your cloud infrastructure.

AWS
Amazon Web Services (AWS) is like a powerhouse for cloud computing, offering a variety of services covering everything from computing power to storage solutions. Understanding the basics of AWS is super important, and if you didn't catch my last blog, you can check it out right here.
You can read more about AWS on the Official AWS Website.
User Data in AWS
In today's digital age, keeping your information safe is important, especially since your data is so valuable. AWS has different services to help us manage and store this user data securely, ensuring confidentiality, integrity, and availability. As we learn more about IAM, we'll understand how it becomes a key player in controlling access to this valuable information.
When you launch an instance in Amazon EC2, you get the option to send user data to that instance. This data is handy for automating common setup tasks and running scripts once the instance is up and running. There are two types of user data you can send to Amazon EC2: shell scripts and cloud-init directives.
You've got flexibility in how you send this data: as plain text directly into the launch instance wizard, as a file (great for using command line tools), or as base64-encoded text (for API calls).
It's a time-saver! Instead of manually configuring every new instance, you can use this feature to, for example, install applications like Apache, Docker, Jenkins, and more each time you launch an instance.
You can read more about AWS User Data on the Official AWS Website.

IAM
Your Gatekeeper in AWS
AWS Identity and Access Management (IAM) is a helpful tool on the web that ensures your AWS resources are safe and sound. It lets you easily manage who gets access to what AWS services. With IAM is you can centrally manage and decide who can log in (that's authenticated) and who gets permission to use different resources (that's authorized). It's basically your gatekeeper for all things AWS.
Task 01
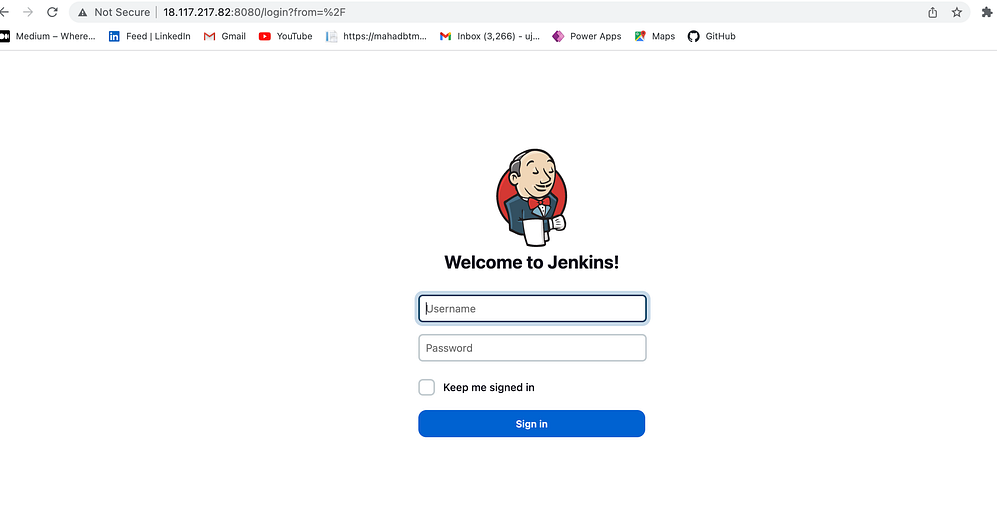
Launch an EC2 instance with already installed Jenkins on it. Once the server shows up in the console, hit the IP address in the browser and your Jenkins page should be visible.
Create EC2 instance
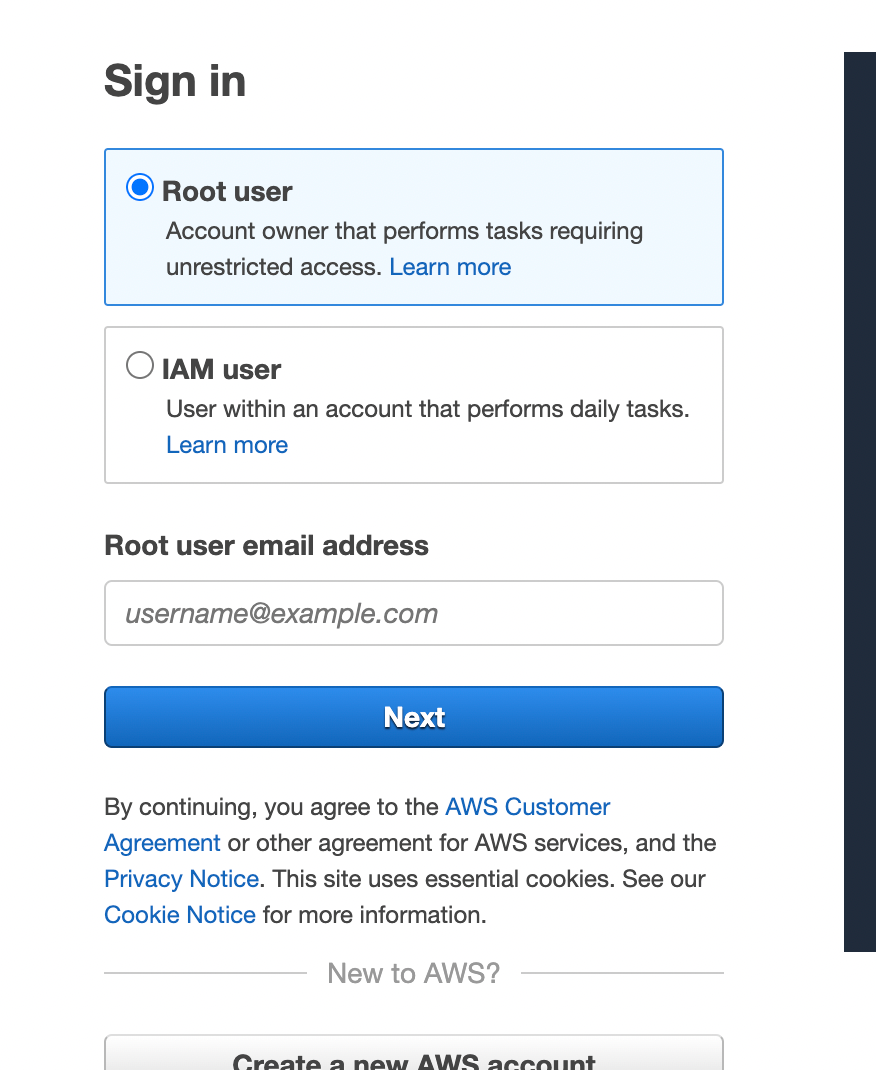
Go to the AWS login page and select Root user.
Enter "EC2" in the search box and proceed to click on "Launch instance."
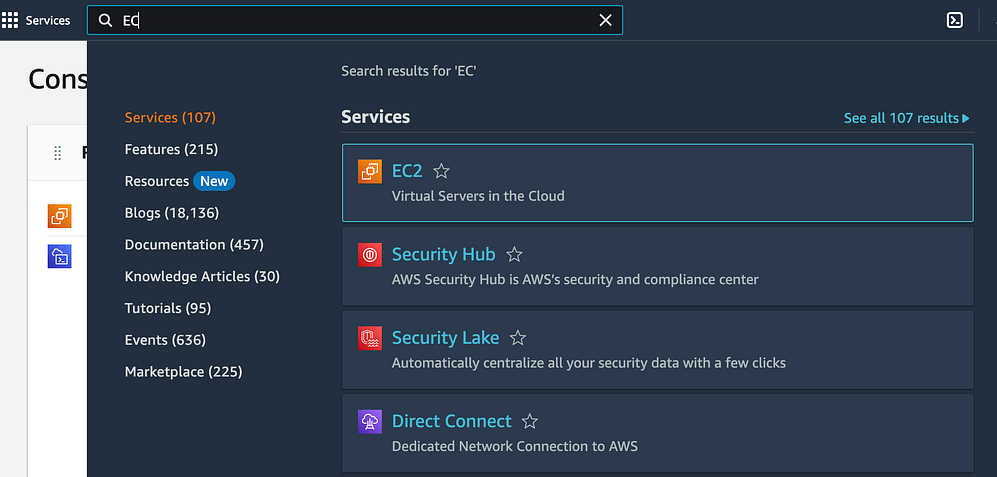
Select "Launch Instance."

Select a Linux AMI that fits your particular needs.

Set up your instance details by specifying the appropriate key pairs and security groups.


Select the advanced settings on the instance creation page.

Go to the User-data section and craft a shell script to install Java and Jenkins on the server.
   #!/bin/bash
    sudo apt update
    sudo apt install openjdk-11-jre -y

    curl -fsSL https://pkg.jenkins.io/debian-stable/jenkins.io-2023.key | sudo tee \
      /usr/share/keyrings/jenkins-keyring.asc > /dev/null
    echo deb [signed-by=/usr/share/keyrings/jenkins-keyring.asc] \
      https://pkg.jenkins.io/debian-stable binary/ | sudo tee \
      /etc/apt/sources.list.d/jenkins.list > /dev/null
    sudo apt-get update
    sudo apt-get install jenkins -y

     sudo systemctl enable jenkins
     sudo systemctl start jenkins
Launch the Instance
Add port 8080, the default port for Jenkins, to the security group of the server.

Once the instance is launched, connect to the server and verify the versions of Java and Jenkins.

Once connected to the server, paste the public IP followed by ":8080" into your web browser to check if Jenkins is up and running.
Task 02
Read more on IAM Roles and explain the IAM Users, Groups and Roles in your own terms.
IAM, which stands for Identity and Access Management, is a service provided by AWS that enables you to handle users, groups, and roles within your AWS setup. These components collaborate to offer detailed access control and permissions for your AWS resources.
IAM Users: IAM Users are like personal accounts within AWS that you generate for individuals or applications needing access to your AWS resources. Each user has distinct security credentials, such as a username and password, access keys, and permissions. You have the flexibility to create, modify, or remove users as required, assigning them particular permissions to access or oversee AWS resources.
IAM Groups: IAM groups are like bundles of IAM users. They offer a way to streamline permissions management by assigning permissions to a group rather than to individual users. For instance, you could establish a group for developers and grant them permission to access development resources. When a user joins the group, they automatically acquire the group's permissions, making it an efficient way to manage access for multiple users with similar needs.
IAM Roles: IAM roles provide an alternative method for overseeing access to AWS resources. Unlike users, roles aren't tied to a particular individual or account. Instead, roles are taken on by trusted entities like EC2 instances, Lambda functions, or other AWS services. These roles can come with attached permissions policies that outline the precise actions the role is authorized to perform.
Create three Roles named: DevOps-User, Test-User and Admin.
Access the home screen and enter "IAM" into the search box.
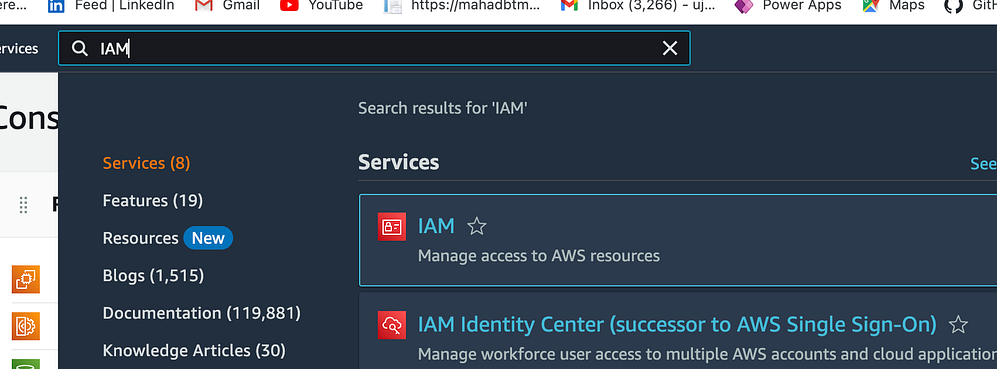
The IAM Dashboard will appear.
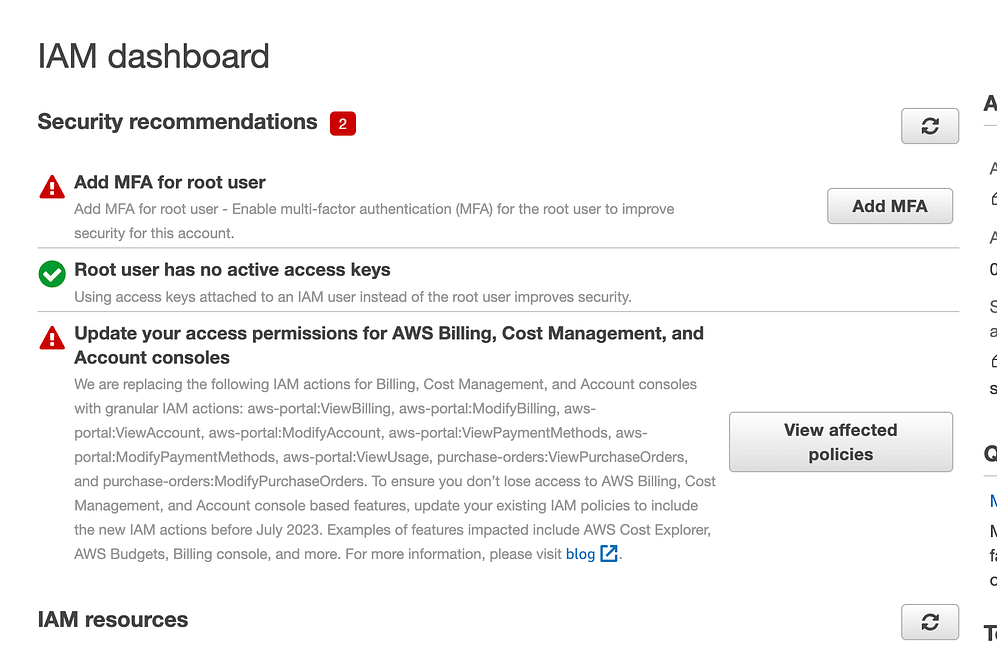
Navigate to the "Roles" section in the left-hand menu and proceed by clicking the "Create role" button.

Select the relevant use case for the role. For instance, if you're creating a role for an EC2 instance, opt for "AWS service" and then specify "EC2".

Select the suitable permissions policies for the role. You have the option to select from existing policies or craft a custom policy based on your requirements.

Enter a name for the role, and then click on "Create role".

Follow the same steps outlined above for each role you wish to create: DevOps-User, Test-User, and Admin.
Create a Test-User role

Create an Admin role


After creating the roles, you can assign them to individual IAM users or groups based on your requirements, thereby controlling their access to AWS resources.
Conclusion
We have today unravelled the basics of AWS and IAM! As we embark on our DevOps journey, we should remember that IAM is your ally in ensuring secure and controlled access to your AWS resources.
If you found this blog helpful, do let me know and learn more about AWS and DevOps practices, feel free to connect with me on LinkedIn.
Let's build a network of like-minded professionals exploring the vast world of cloud computing together!

