Welcome back to our AWS DevOps journey! 🌟
In my previous blog post, we delved into the realm of IAM Programmatic Access and its seamless integration with AWS CLI.
If you haven't had the chance to explore that yet, you can catch up here.
Understanding IAM is fundamental in establishing secure access to various AWS services, and today, we'll be focusing on another critical service – Amazon S3.
S3

Amazon Simple Storage Service (S3) stands out as a highly scalable and secure object storage service. It facilitates the storage and retrieval of any volume of data at any given time. Its versatility makes it a cornerstone in numerous DevOps workflows, serving as a dependable and durable storage solution for a wide range of applications, from static assets to data backups.
Task 01
Launch an EC2 instance using the AWS Management Console and connect to it using Secure Shell (SSH)
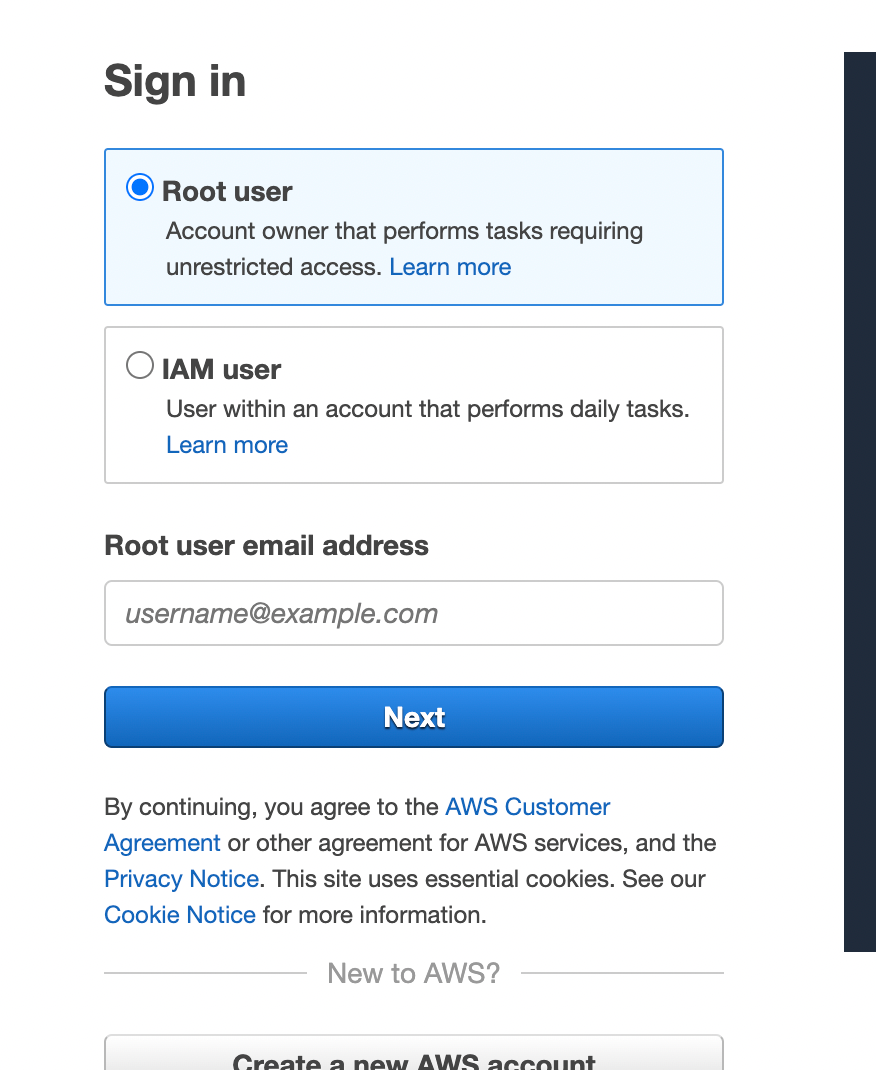
Go to the AWS login page and log in as Root user.

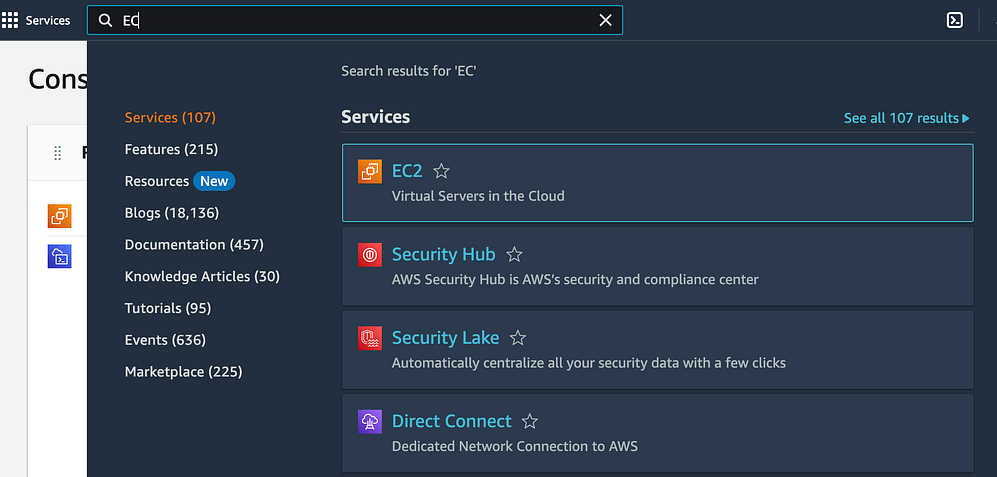
Enter "EC2" in the search box.

Select "Launch Instance."


Connect to the EC2 instance using SSH with the command

Create an S3 bucket and upload a file to it using the AWS Management Console.
Access your AWS Management Console, then search and navigate to the S3 service.
Select the "Create bucket" button.

Provide a unique name for your bucket, choose the desired region for its creation, and then click "Create."


Select 'Create Bucket.'

After the creation of your bucket, click on its name to access its contents.

Choose the "Upload" button to initiate the file upload process.

Inside the "Upload" window, select the "Add files" button to choose the file you intend to upload.

After selecting your file, proceed by clicking "Next."

Next, you can establish permissions for your file, configure the storage class, and define metadata.
Review the details before proceeding to click on the "Upload" button to initiate the file upload.

Upon completion of the upload, you will be able to view the file within your S3 bucket.


Access the file from the EC2 instance using the AWS Command Line Interface (AWS CLI).
Install the AWS CLI.
Verify if the AWS CLI is installed by checking its version with the following command:
aws --versionAfter installing the AWS CLI, open a terminal and execute the command
aws configureto set up your account credentials.Enter your AWS Access Key ID and Secret Access Key when prompted.
To list the S3 buckets, use the following command:
aws s3 lsYou can use the
aws s3 cpcommand to copy the file from your S3 bucket to your EC2 instance, and then use thecatcommand to view the content of the file.
Task 02
Create a snapshot of the EC2 instance and use it to launch a new EC2 instance.
Choose the EC2 instance for which you intend to create a snapshot.


The snapshot has been successfully created.

Use snapshot to launch a new EC2 instance
On the right side, click on "Actions" and choose 'Create image from snapshot.'

Within the "Create Image from snapshot" window, provide a name and description for the image.

Select 'Create Image.'

After the image is created, navigate to the "AMIs" section in the EC2 Dashboard to verify that the image has been successfully created.

Choose the newly created AMI, right-click on it, and select "Launch Instance from AMI."

In the "Launch Instance" window, select the configuration options for the new instance.
Select the VPC and subnet where you wish to launch the new instance.
In the "Add Storage" section, you have the option to adjust the storage volumes based on your specific requirements.
Review the instance details and proceed by clicking "Launch instance" to initiate the launch of the new instance.

Connect to the EC2 instance using SSH with the command

In this case, you can log in as the user "ubuntu" instead of "ec2-user."
Download a file from the S3 bucket using the AWS CLI.
- Use the following
aws s3 cpcommand to download a file from your S3 bucket to your EC2 instance
aws s3 cp s3://BUCKET_NAME/PATH/TO/FILE /PATH/TO/LOCAL/FILE
Verify that the contents of the file are the same on both EC2 instances.
AWS CLI commands for S3
Certainly! Here are some commonly used AWS CLI commands for Amazon S3:
List all S3 buckets:
aws s3 lsCreate a new S3 bucket:
aws s3 mb s3://your-bucket-nameCopy a file to S3:
aws s3 cp /path/to/local/file s3://your-bucket-name/path/to/destination/fileCopy a file from S3 to local:
aws s3 cp s3://your-bucket-name/path/to/source/file /path/to/local/destinationSync local directory with S3 bucket:
aws s3 sync /path/to/local/directory s3://your-bucket-name/path/to/destinationList objects in an S3 bucket:
aws s3 ls s3://your-bucket-nameRemove an object from S3:
aws s3 rm s3://your-bucket-name/path/to/objectRemove a bucket and its contents:
aws s3 rb s3://your-bucket-name --forceConfigure static website hosting for a bucket:
aws s3 website s3://your-bucket-name/ --index-document index.html --error-document error.htmlPresign an S3 URL for temporary access:
aws s3 presign s3://your-bucket-name/path/to/object
These commands cover a range of common scenarios for interacting with Amazon S3 using the AWS CLI. Adjust the placeholders (like your-bucket-name, path/to/file, etc.) with your specific values.
Conclusion
In conclusion, mastering programmatic access to Amazon S3 with AWS CLI is a fundamental skill for DevOps professionals. It enables seamless integration of S3 into automated workflows, enhancing efficiency and productivity.
If you found this blog helpful and would like to delve deeper into AWS and DevOps practices, feel free to connect with me on LinkedIn.
Let's build a network of like-minded professionals, collectively exploring the expansive world of cloud computing!


