Welcome back, dear readers🌟
You might recall my previous blog on "S3 Programmatic Access with AWS-CLI." In case you missed it, feel free to catch up here.
Today, we talk about the Relational Database Service (RDS) in AWS. As we continue to explore more about cloud computing, RDS stands out as a crucial service for managing relational databases effortlessly.
Relational Database Service (RDS)
RDS is a fully managed database service that handles routine database tasks such as backups, patch management, and scaling, allowing you to focus on building and optimizing your applications.
RDS supports a variety of database engines, including MySQL, PostgreSQL, Oracle, SQL Server, and MariaDB. It provides automated backups, high availability with Multi-AZ deployments, and the flexibility to scale your database resources based on demand.
With RDS, you can offload the administrative overhead, ensuring that your databases are secure, highly available, and performant.
Task 01
Create an EC2 instance
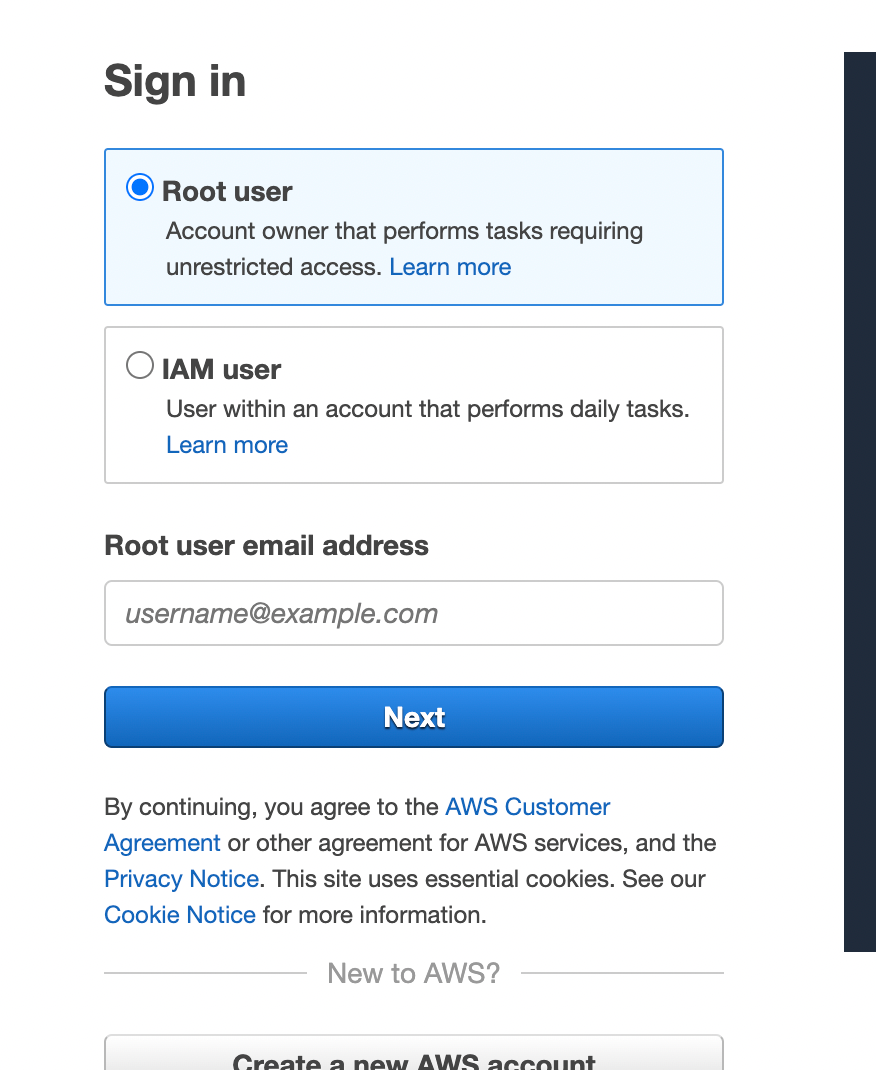
Go to the AWS login page and log in as Root user.

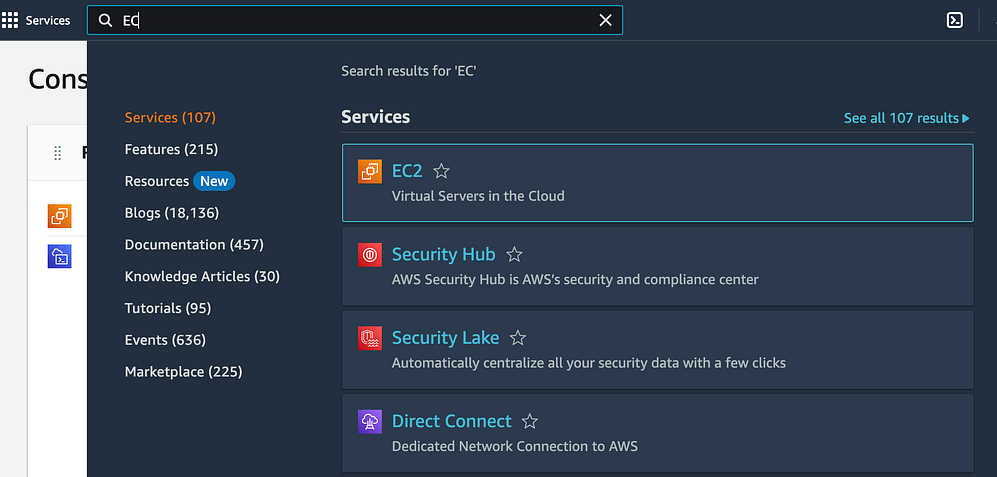
Enter "EC2" in the search box.

Select "Launch Instance."

Select a Linux AMI, pick an instance type, such as t2.micro, and choose a VPC and subnet.
Set up security group rules to permit inbound traffic on the relevant port for the type of database you are using (e.g., port 3306 for MySQL).

Launch the instance.

Create a Free tier RDS instance of MySQL
Go to the Amazon RDS console and select "Create database."

Choose "MySQL" as the engine type.

Choose the "Free tier" template for the "DB instance class."

Provide a distinctive name for the "DB instance identifier."
Specify the "Master username" and "Master password" for the database.

Configure the "Virtual Private Cloud (VPC)" and "Subnet group" for creating the instance.
Maintain the default values for the other settings.


Choose the EC2 instance that you want to create a snapshot of.


Select the VPC security group.


Click "Create database" to initiate the instance creation process.

The database has been successfully created.

Create an IAM role with RDS access.
Navigate to the IAM console, click on "Roles," and then select "Create role."

Choose 'AWS service' and choose "Allows EC2 instances to call AWS services on your behalf."

Attach the "AmazonRDSFullAccess" policy to the role.

Provide a unique name for the role.

Click "Create role" to finalize the role creation.

The role has been successfully created.

Assign the role to EC2 so that your EC2 Instance can connect with RDS
Access the EC2 console and choose the instance you have just created.
Click on "Actions," then go to "Instance Settings," and select "Attach/Replace IAM Role."

Select the IAM role you recently created, and then click "Update IAM role."

Once the RDS instance is up and running, get the credentials and connect your EC2 instance using a MySQL client.
Navigate to the RDS console and choose the instance you have recently created.
Click on "Configuration" and make a note of the endpoint address.

Click on "Security" and take note of the username and password.

Click on "Security" and take note of the username and password.
Install a MySQL client, for example, "mysql".
Establish a connection to the RDS instance using the MySQL client with the provided endpoint address, username, and password:
mysql -h <endpoint address> -P <port.no> -u <username> -pInput the password when prompted and press Enter.
You should now be successfully connected to the MySQL database on the RDS instance.
Conclusion
In conclusion, Relational Database Service in AWS is a game-changer for developers and businesses alike. It streamlines database management, allowing you to focus on innovation rather than infrastructure.
If you found this blog helpful and have any questions or want to share your experiences, feel free to connect with me on LinkedIn. Let's build a community of DevOps enthusiasts and share our knowledge for mutual growth.


